this is just an exercise on how I can apply fine layers and have some control


 |
| sketched, drawn and encaustic'd chair layered, overdrawn your basic all use wooden chair |


 I bought this one for under $ 30.00 at Aldi's,
  It is a Beauty Shop's Wax warmer,
  First is an Encaustic iron, around $ 60.00
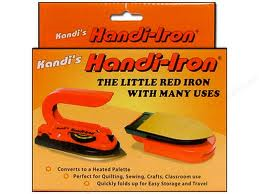

 This is my latest toy, took me forever to be able to buy it in Australia, until I found it in a local Airplane Model makers shop for under $ 40.00
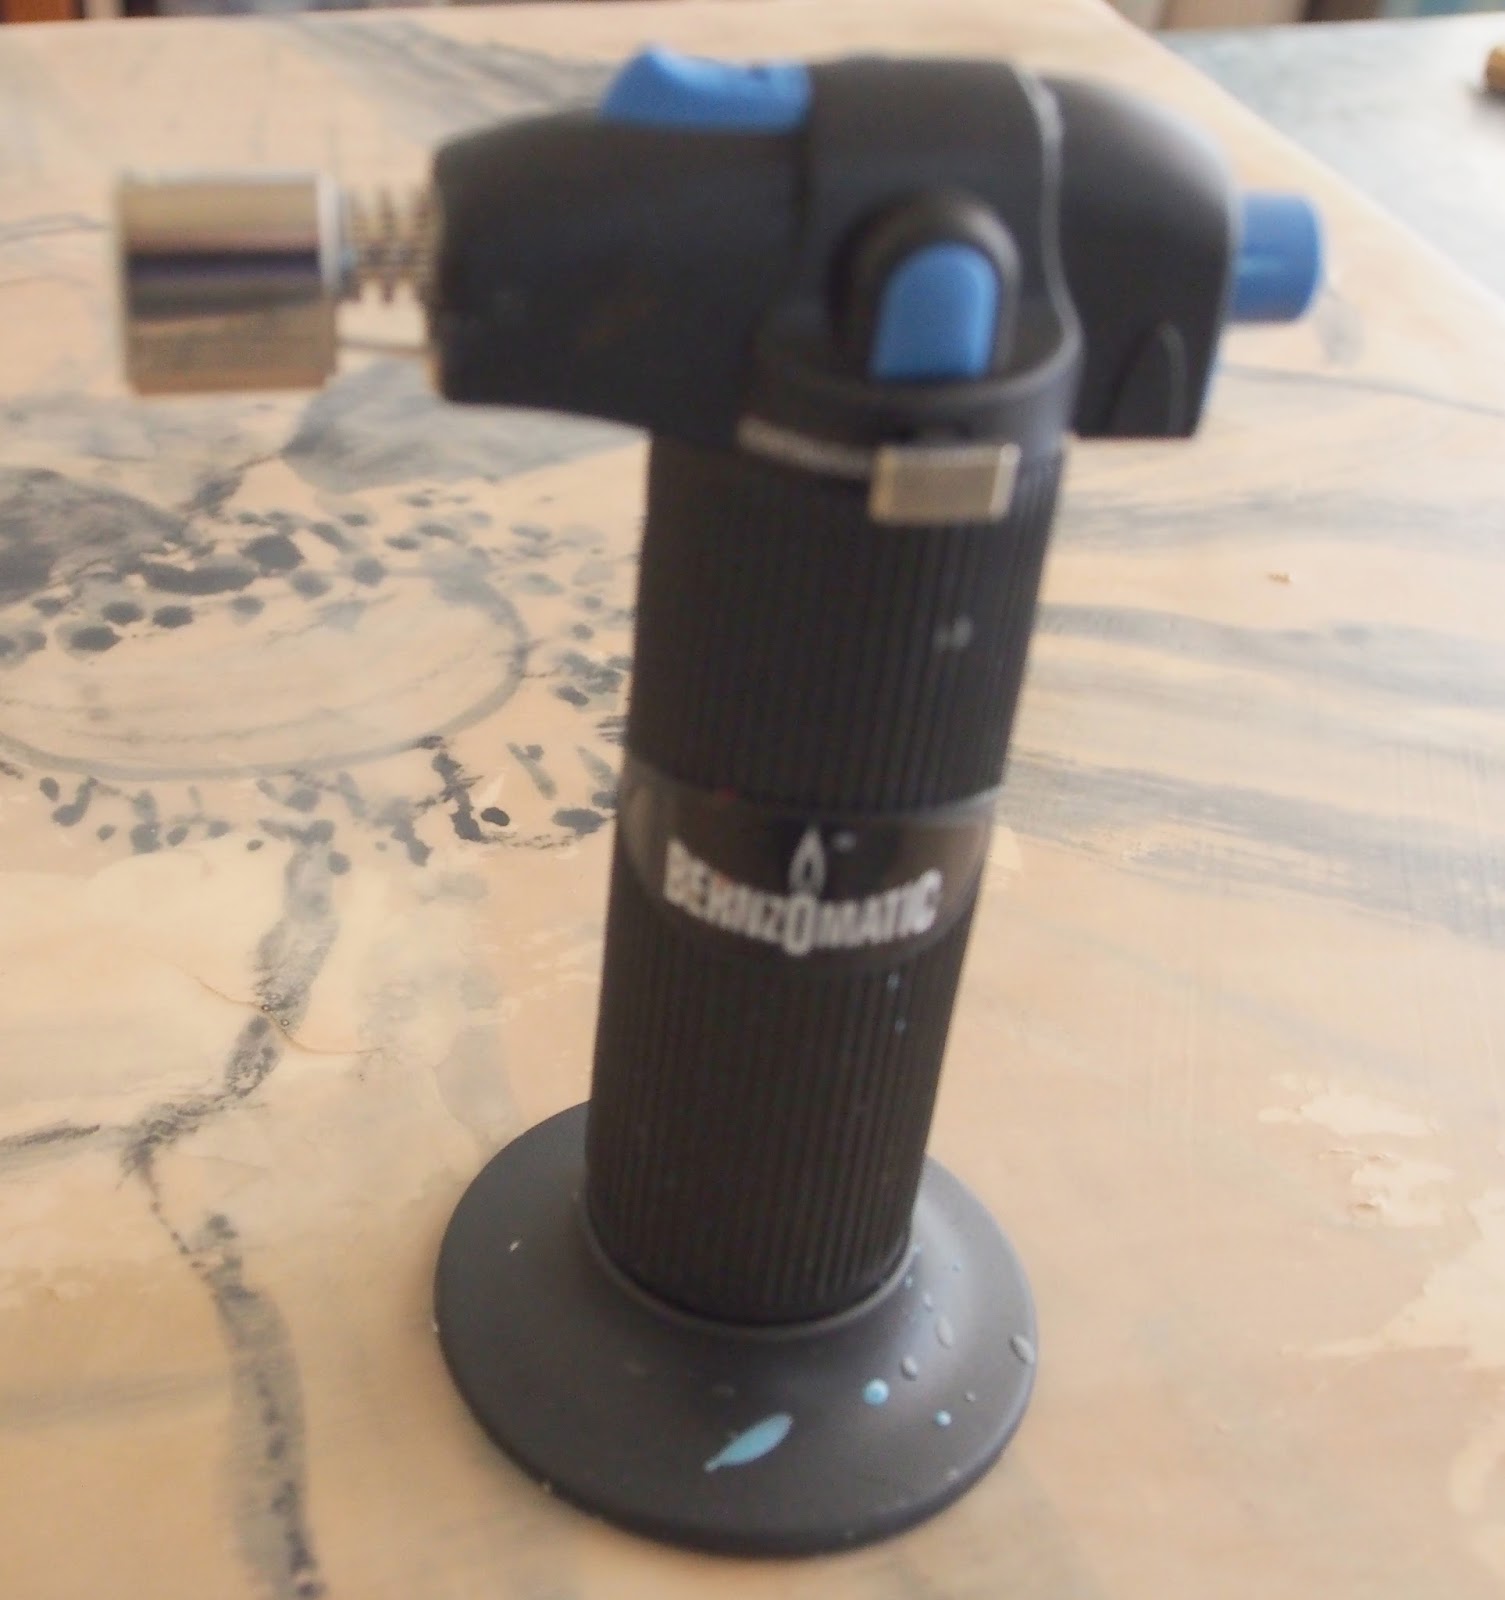


 |
Print glued to base, encaustic medium (EM) layer, masking tape layered in grid (make sure the EM is at least a day old, otherwise some wax might come off when tape is removed)
White EM applied, more EM layers
This is my check how transparency works on EM
|
 |
an idea from my Eco dye sample's lovely texture
Marks made with all sorts of tools, oil paint for staining and stylus for filling in ridges
|
 |
my own print as background, glued on art paper, marks hammered in, oil paint to stain, and hoping for transparency of EM
|
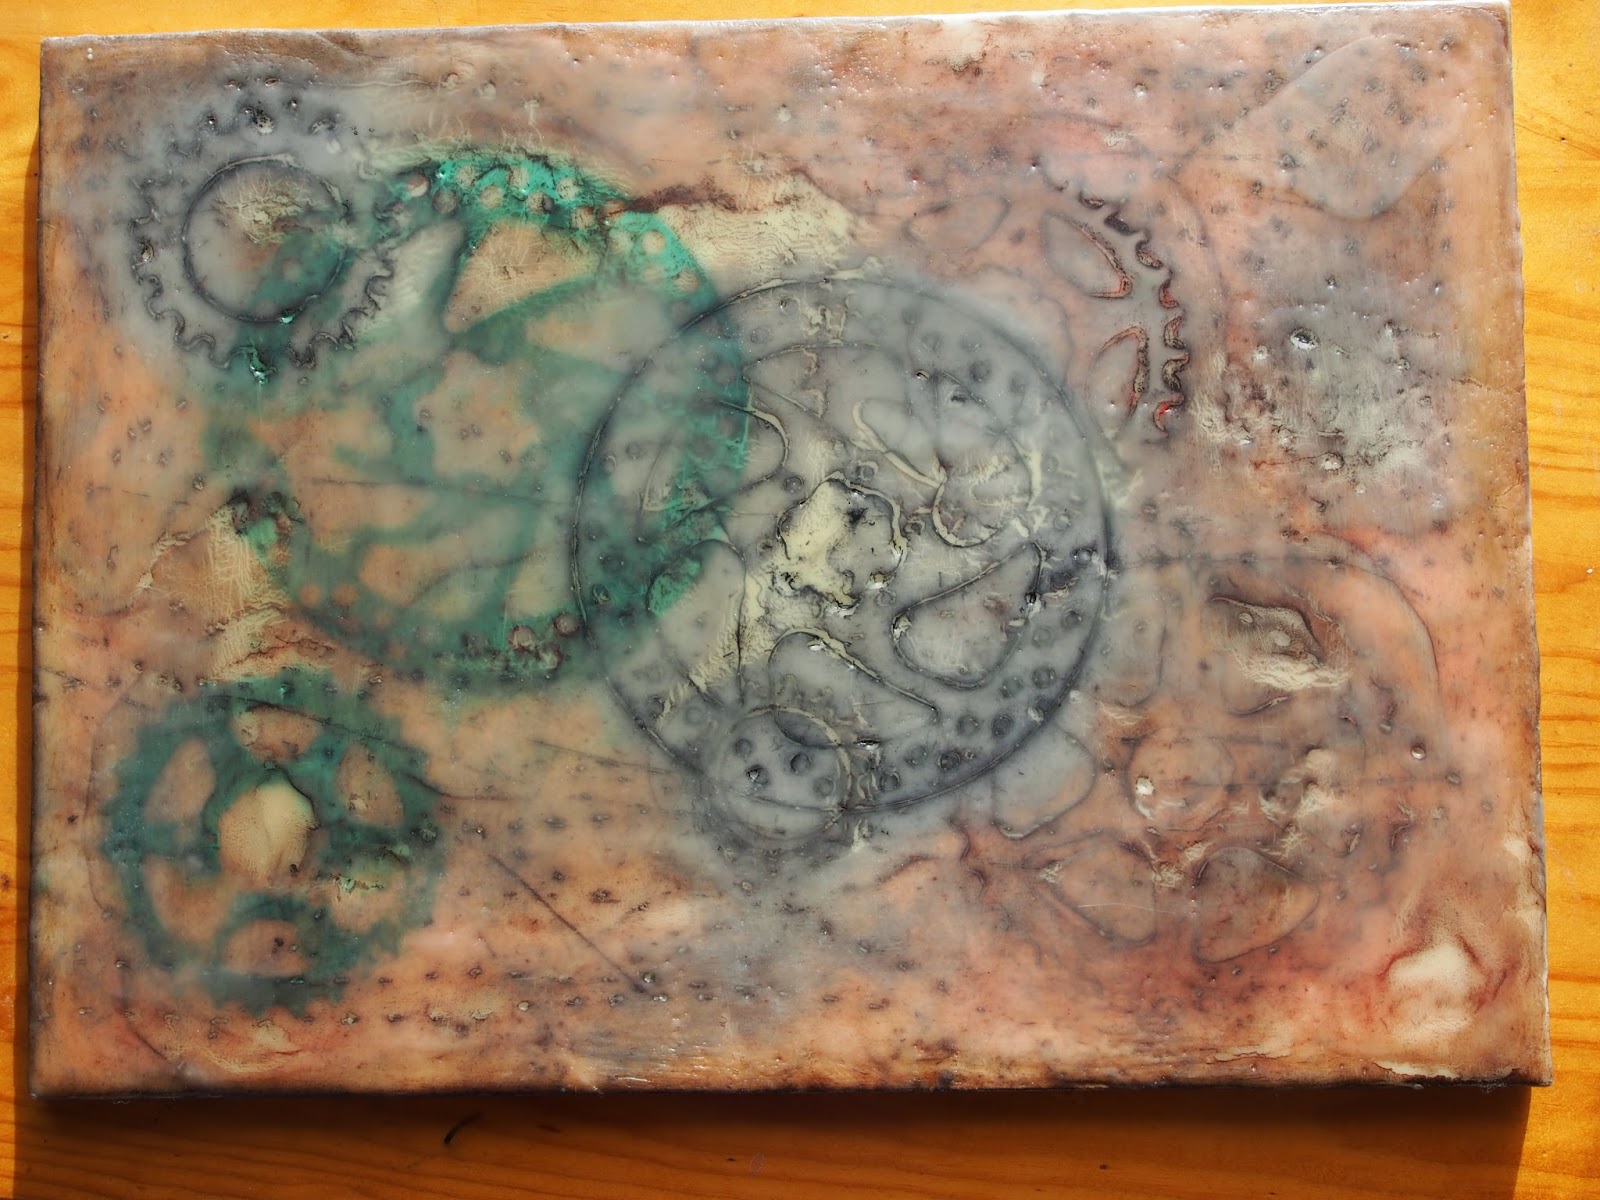 |
colleague lent me some cogs and things, they are used in various ways to leave prints: positive, negative and trace, oil paint, oil sticks, EM with pigment and lots of fun play with heat
|
 |
Love Jane Guthridges work.
Here is my trial with rice paper stripes, will take some practicing but is an intriguing idea
|
 |
now here is a fascinating way to use EM and Shellac, on this work I used burning Shellac on only half the panel following lots of layers of different coloured EM
|
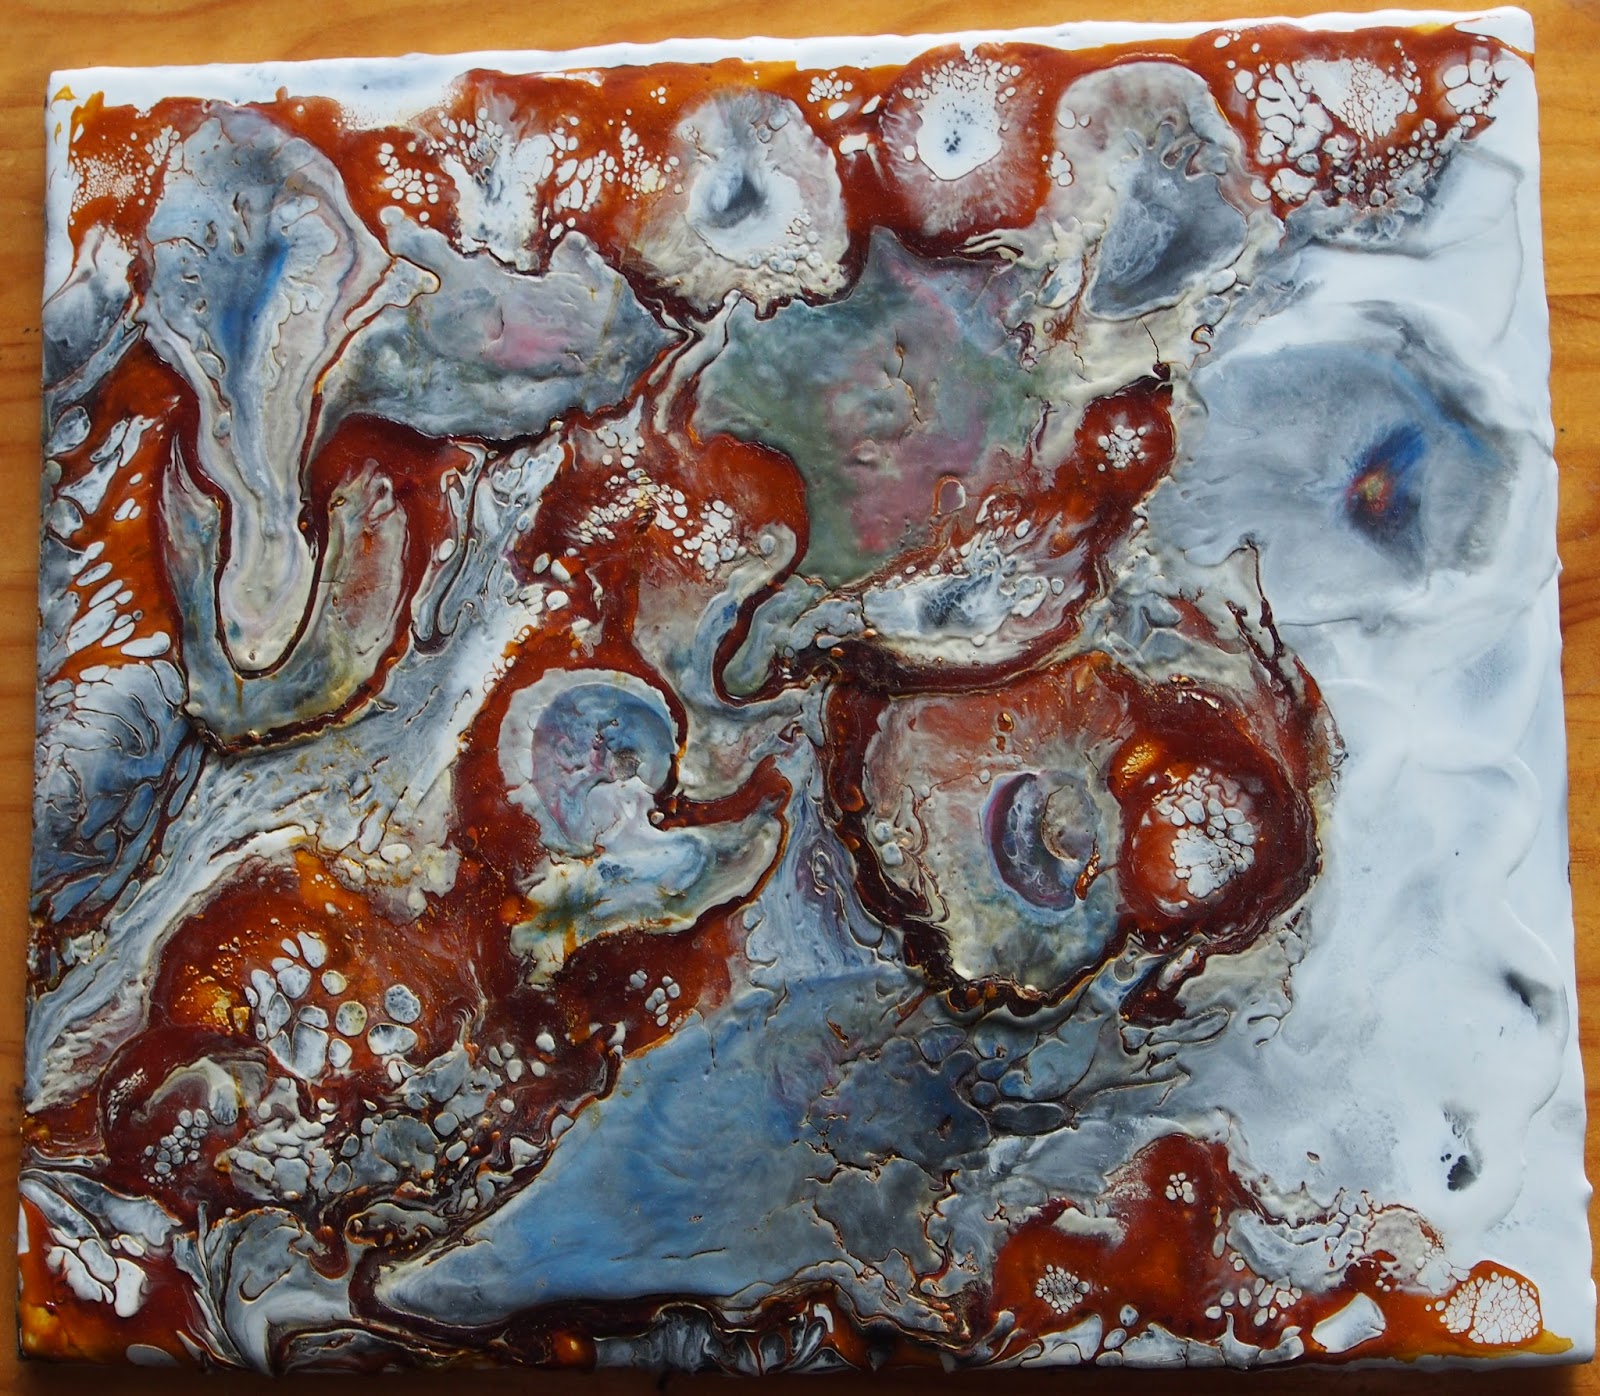
 some details
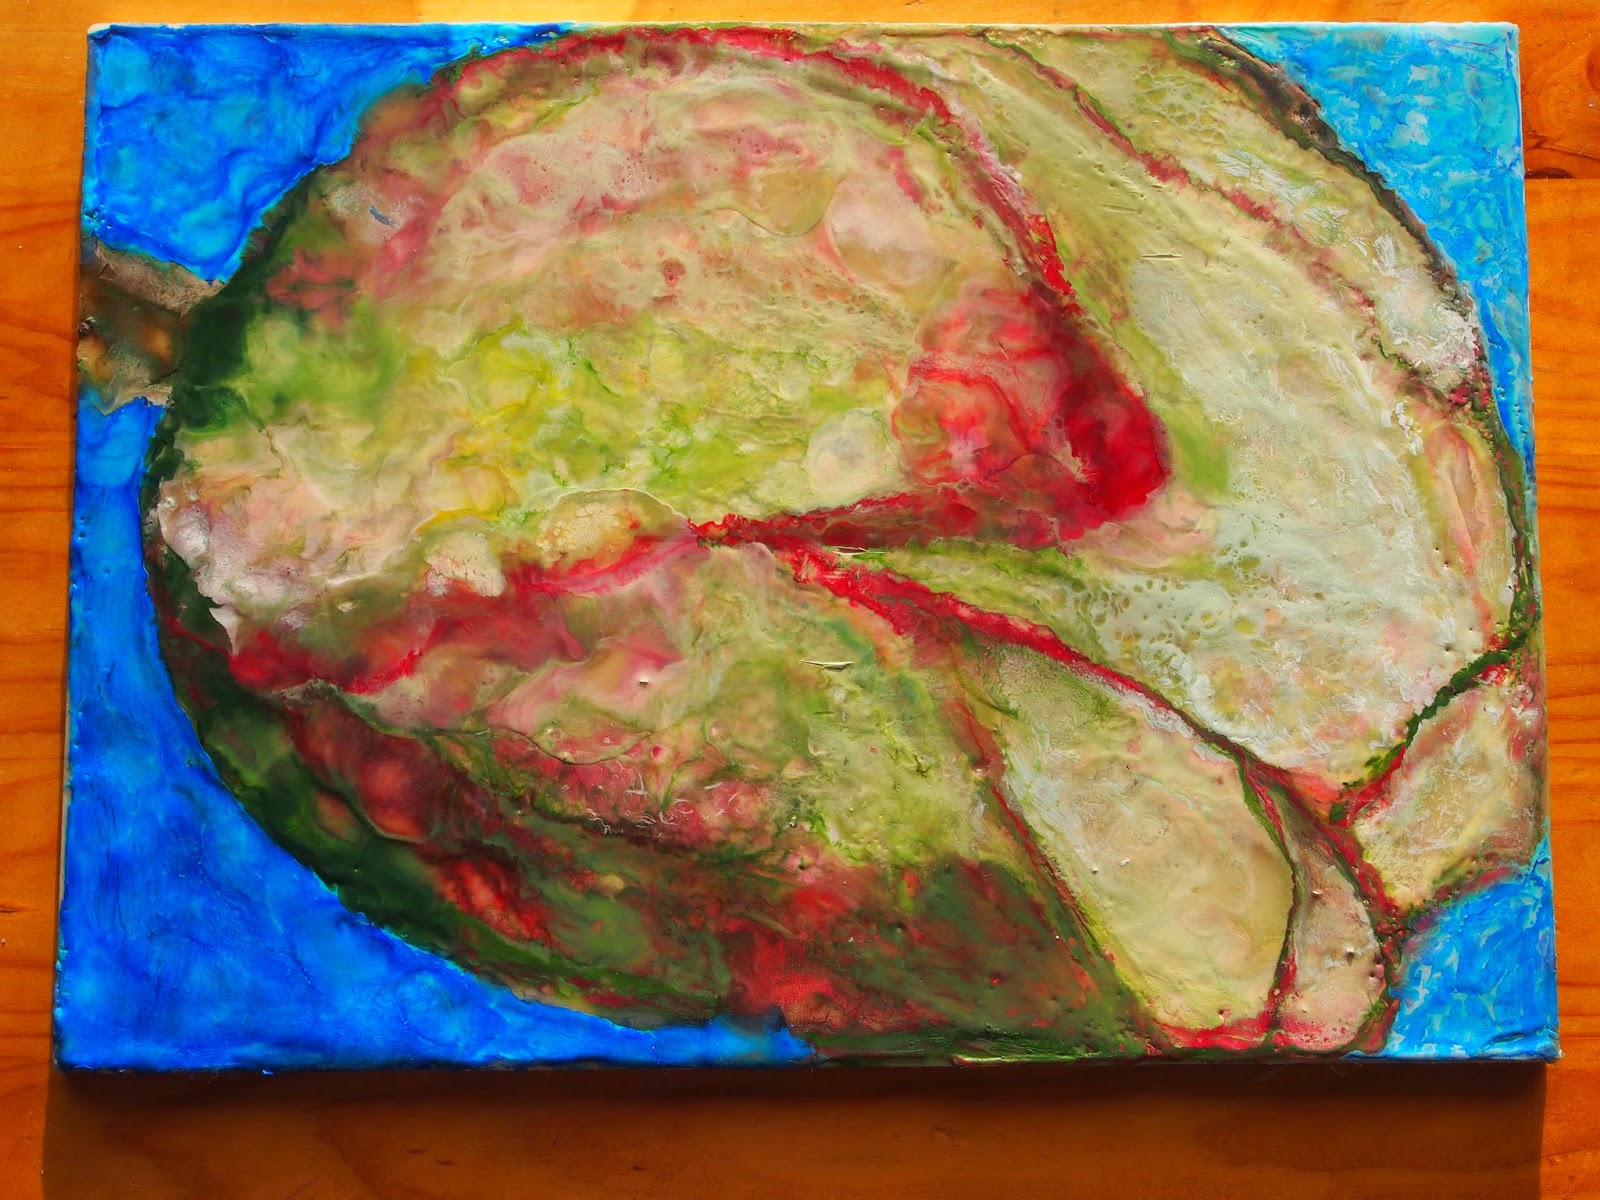
